When you've caught someone's attention on Instagram, you want to make the most of it.

That's why slideshows – also known as carousel posts – are really useful. They let you publish multiple photos or videos in one post, so that you can share more information and keep your audience engaged for longer.

They’re popular for storytelling, whether it be explaining your brand’s ethos or revealing a new product. They also often see higher engagement than single-image posts when they pop up in the main feed.

Best of all, making Instagram slideshows is completely free.

You can use them to share multiple pictures in a single post and put snippets of the slideshow in your Instagram stories for more views.

Making them might sound time-consuming, but it's surprisingly quick – you just select multiple images and add filters, music, and sound effects as desired, then check the preview window and hit publish on your Instagram post.

This article provides in-depth details about Instagram slideshows, including how to create them (both carousel posts and slideshow videos). It also offers tips to optimize them with filters, tags, music, and more.

Why slideshows are great on Instagram

Using slideshows to share content offers numerous benefits for brands and individuals seeking to gain visibility and foster audience engagement. Let's break these down.

Multiple photos/videos in one post

Instagram carousels allow up to 20 images or videos in a single swipe-able post, enabling you to tell a richer story without cluttering your grid.

Higher engagement

Carousel posts tend to get more engagement than single images. Viewers spend more time on them, and Instagram may also resurface your post later, showing another slide to users who didn’t engage initially.

Great for storytelling

With sequential slides, you can present content step-by-step or show a before-and-after progression. This makes carousels perfect for tutorials, narratives, case studies, or sharing multiple tips in one go. Home improvement brands, for example, excel at showcasing before-and-after slideshows of stylish renovations.

Show off multiple items

Highlight several products, features, or examples in one post – each slide can focus on a different detail while keeping the overall content cohesive. This is particularly useful when launching a new product.

Easy to make with bags of creativity

Creating a slideshow is straightforward in the Instagram app. You can edit each slide individually (applying filters, cropping it to size, and all the usual edits), tag people or products on each slide, and even add a music track to play during your carousel. After that, you just need to write one caption that covers everything.

How to make a slideshow on Instagram (AKA carousel post)

Follow these steps to create an Instagram slideshow, also known as a multi-photo carousel post, on Instagram.

Step 1: Start a new post and choose multiple photos/videos

Open Instagram and tap the “+” (Create) button to start a new Instagram Post (choose “Post” if prompted). 

In the media picker, tap the “Select Multiple” icon (two overlapping squares) so you can choose more than one photo or video.

Step 2: Select the content for your slideshow

Pick at least two photos and/or videos from your gallery to include. (You can add up to 20 slides.) 

Though not essential, it’s best to use images with the same aspect ratio (for example, all square or all vertical) so the slides look consistent. When you’ve selected all your content, tap “Next”.

Step 3: Edit and rearrange each slideApply any filters or adjustments to each photo/video as you would usually. You can edit slides one by one in the photo window (swipe to navigate between them) and adjust brightness, contrast, or crop if needed.

This is all really easy on the app via a mobile device, although it can also be done on a computer.

To rearrange the order, press and hold a slide’s thumbnail and drag it to a new spot in the sequence. Once everything looks good, tap Next.

Step 4: Add music to your post (optional)

You will also have the option (depending on your region) to add a soundtrack for an extra bit of interest. This is one of the key features that makes carousels more engaging than just a collection of photos.

Tap “Music” (the music note icon) and choose a song from Instagram’s library – if you don't have a track in mind, Instagram will suggest something suitable based on the theme of your photos and videos (like magic!). 

Then, you're free to choose the specific 5-90 second clip of the song you want to play. This audio will play as people swipe through your carousel.

There are a few other fun and useful features in this stage as well, such as adding animated text, an emoji slider, or a link to explore further.

Step 5: Write a caption, tag accounts, choose audience, and more

Now it's time to write a caption that will appear with your post. 

On this screen, you can include relevant hashtags to boost discoverability and use the “Tag People” option to tag other users on each slide (for example, credit a photographer or feature a collaborator by tagging them on the relevant image). 

You can also tag products if you have Instagram Shopping, and add a location tag if appropriate. In addition to tagging people, you can also add a geolocation in this step. If it's relevant, that's another way to signal boost your post.

After that, you can choose to share on other accounts and platforms linked to your Instagram profile. This is particularly useful for Facebook publishing if your profiles are connected via the Meta Business Suite.

Step 6: Review more options

After this, hit the “More options…” button to see a whole range of additional features. You can tag products in your posts, add reminders for an event post, and even include a fundraiser element to your carousel.

You can set interaction settings (for example, “Turn off commenting”) and schedule the post for an optimal time. Boost your post by changing it into an Instagram ad, and include alt text to your image to help describe it for visually impaired audience members.

Step 7: Share

Finally, double-check your slideshow before posting. Ensure the slides are in the correct order and each image appears as intended.

You can also pause and save your draft if you're not quite ready to share.

When ready, tap “Share”. Instagram will publish all the selected slides as one carousel post on your profile. Followers will be able to swipe through the series in one post.

You can also save and download your creation if you only want to use it for private use or if you want to share it elsewhere.

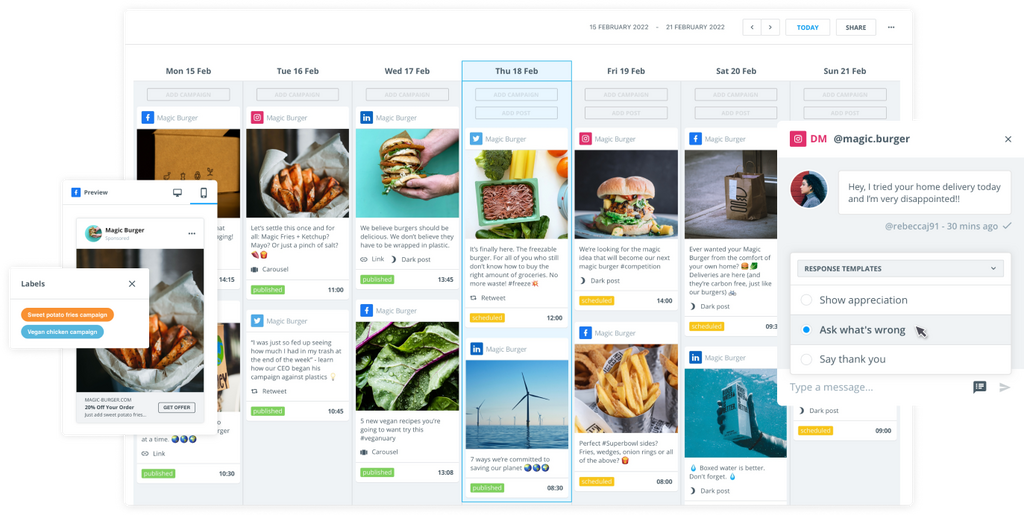
Note: The above advice applies to uploading carousels within the Instagram app. Using a third-party tool like Brandwatch Social Media Management means you can create, schedule, and measure the impact of your carousels alongside content for your other social channels.

How to make a slideshow video for Instagram

Instead of a swipeable carousel, you can turn your pictures into a slideshow video that automatically plays through the images with music. 

You can post this as a regular video, a Reel, or as an individual Story. Slideshow videos are essentially mini-movies made up of your photos, and they're great for grabbing attention since they autoplay.

There are two easy ways to create a slideshow video.

Use Instagram Reels

The Instagram app itself lets you create a quick slideshow via Reels. 

Tap “+” and choose “Reel”. Add multiple photos (each will become a short clip in the Reel) and set the duration of each clip (usually 2-3 seconds per photo). If you've selected live photos, these will appear as moving clips as the video plays, which is a nice touch.

Then pick a music track for the Reel. Again, Instagram will suggest something suitable or let you browse trending audio if you don't have a specific piece of music in mind. 

You can add text or effects if desired. Post it as a Reel (in terms of aspect ratio, a vertical 9:16 format works best), and it will play through the images like a video.

Remember that others can download and share your reels, and use them as a template to create their own Remix or Sequence Reels.

Use a third-party app

The second option involves using a third-party app or design software like Canva, InShot, or Adobe Express, which allows you to edit videos with transitions and music. Most of these are free to use or offer free options.

If you want to pursue this route, the process is similar, but using a different platform. You'll need to import your images into one of these tools, arrange them in order, select the duration for each clip, and add a soundtrack. Export the video (typically as an MP4 file) in an Instagram-friendly size (like 1:1 square or 9:16 vertical format). Then upload that video to Instagram as you would any video post or Reel.

Brands typically utilize third-party software to create content and upload it to Instagram, rather than relying on the app’s limited range of professional editing options.

To plan and schedule your Instagram carousel posts ahead of time, a social media management tool can also be massively helpful. For example, Brandwatch’s Social Media Management platform allows you to schedule Instagram slideshows, coordinate content across channels, and track engagement metrics.

Can I edit an Instagram slideshow after posting?

You can edit some aspects of a carousel post after it’s live, but there are limitations.

It’s fairly easy to edit the caption text, add or remove hashtags, and change the location tag after posting, just like you would on a regular post.

You can also tag people (or adjust tags) on individual slides after posting. Tap the three-dot menu on your post, choose “Edit”, then swipe to the slide where you want to add or change a tag (tap “Tag People” on that slide).

Instagram also allows you to delete an individual photo/video from your carousel after it’s posted. In edit mode, swipe to that slide and tap the trash can icon to remove it. (Note: you must keep at least two slides in the post, so you can’t bring it down to just one. Any deleted slide can be restored from your “Recently Deleted” folder within 30 days if you change your mind.)

However, you can't add extra photos/videos to a carousel or swap out an existing slide for a different one once the post is published. 

You also can't rearrange the order of slides in a carousel after it’s been posted. There’s no drag-and-drop reordering available once the presentation is live, so ensure your slides are in the correct sequence before sharing.